Beginner learning hub
Learn one craft through one complete project
Choose knitting or crochet, select a small project you want to finish, and learn only the setup and stitches it needs. Short cycles of making, checking, correcting, and repeating build more useful skill than collecting disconnected techniques.
First decision
Let the first project choose the craft
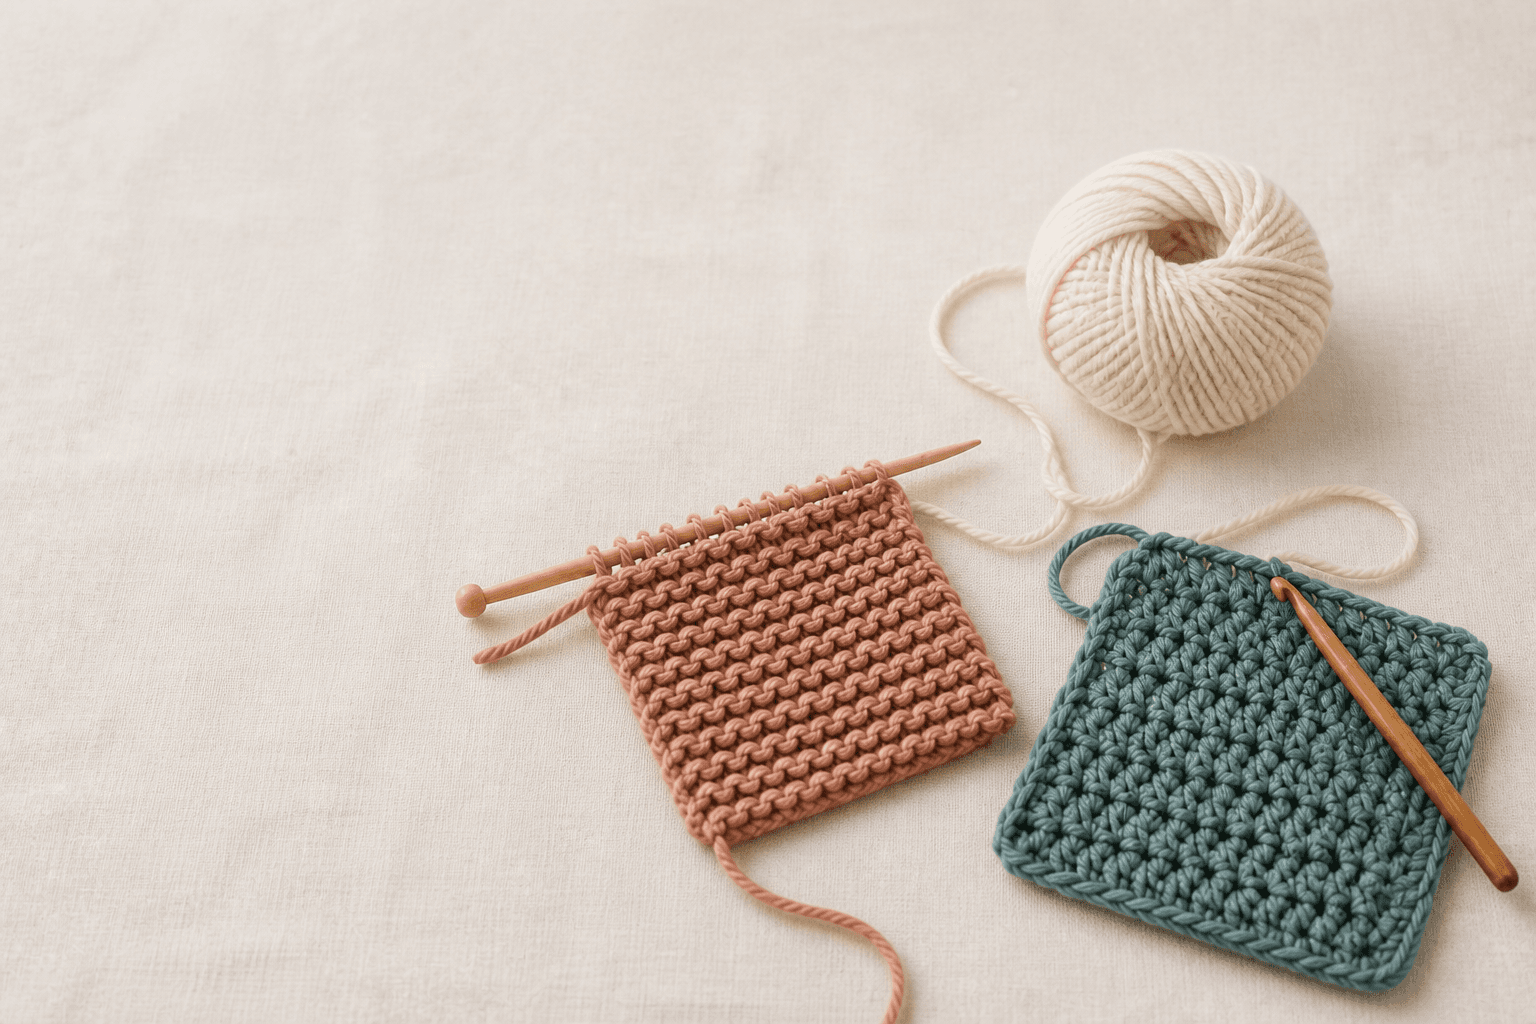
Neither craft is universally easier. Knitting generally keeps a row of live loops on two needles, while crochet usually works with one hook and one active loop. Those mechanical differences matter less at the start than your motivation to make a particular object.
Pick one path and stay with it until you finish a first piece. A flat scarf, cloth, simple cowl, or similarly contained project is easier to inspect than a fitted garment or a construction with many joined parts. Avoid choosing solely because a project promises to be fast; choose one whose finished form makes the repetition worthwhile.
Materials
Build a small kit around the pattern
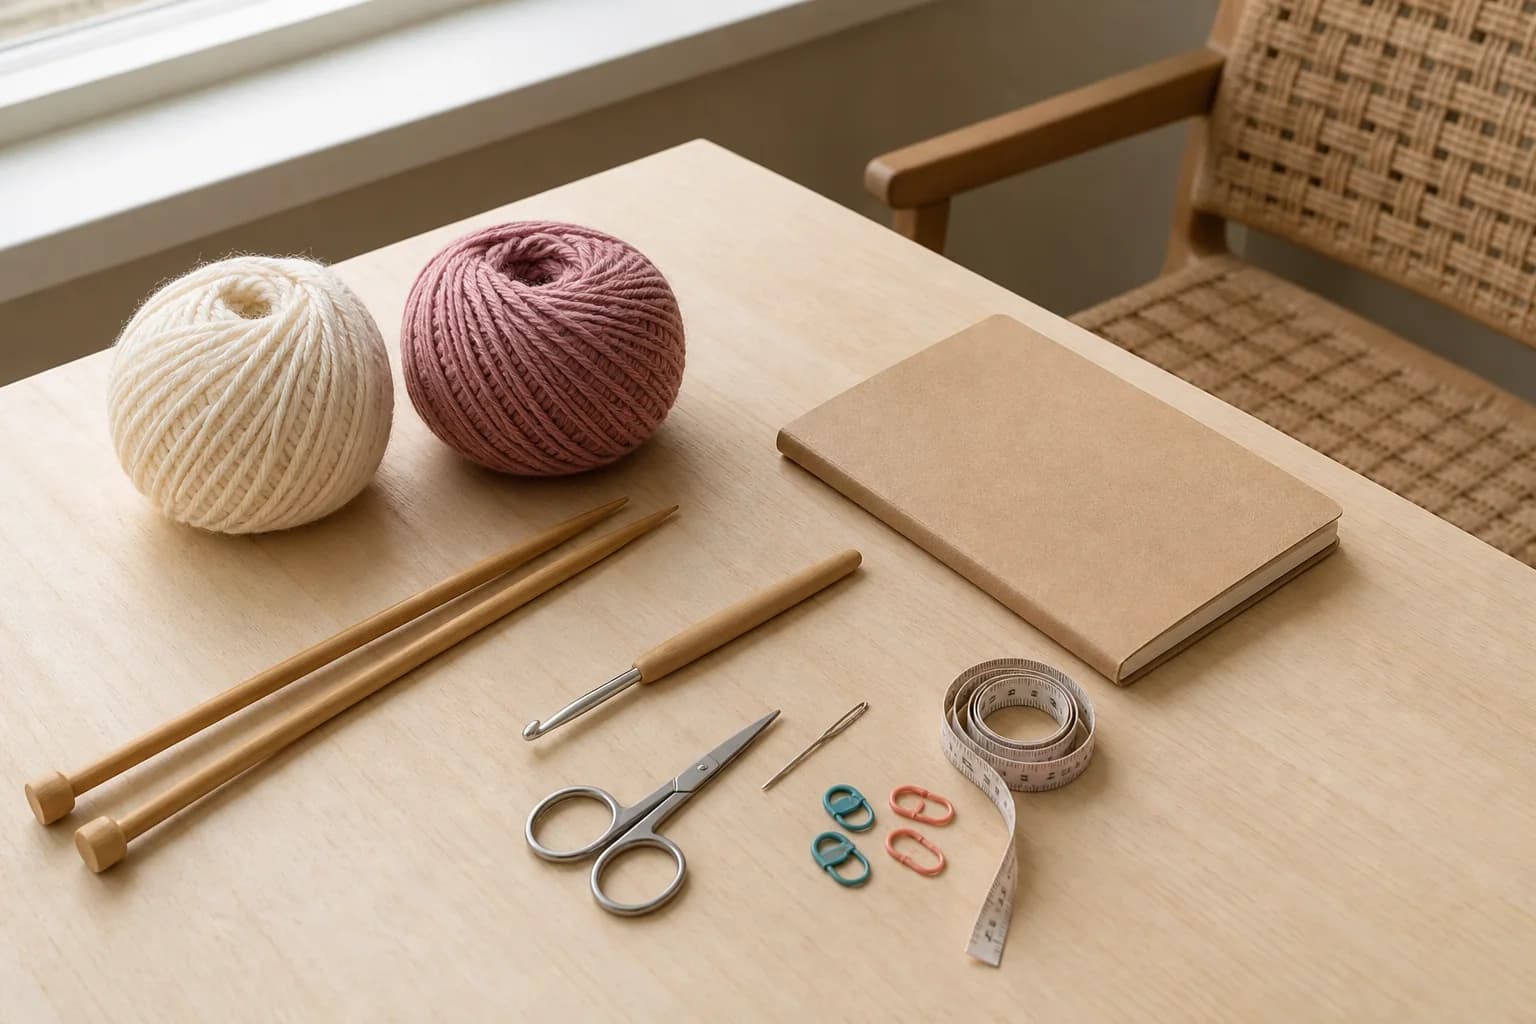
Buying a large tool set does not remove beginner uncertainty. Start with the materials one complete pattern asks for and add tools only when a real task requires them.
- One complete beginner pattern for a small, flat object
- Smooth, light- or medium-colored yarn whose stitches remain visible
- The needle or hook size recommended by that pattern as a starting point
- Scissors, a blunt tapestry needle, removable stitch markers, and a tape measure
- A notebook or simple counter for rows, measurements, changes, and questions
For the first sample, avoid yarn that is very dark, fuzzy, highly textured, loosely spun, or easy to split. Those qualities can hide the loops and insertion points you are learning to recognize. The yarn decision guide explains how to read the label and compare practical choices.
Before session one
Check that the pattern is complete
A pattern is a project plan, not only a row list. Before winding yarn, confirm the craft and terminology, chosen size, finished measurements, materials, total yarn length, gauge, abbreviations, construction, complete instructions, finishing, designer, and lawful source.
Then follow the guide for knitting notation or crochet notation. Each explains how to isolate one size, decode repeats, preserve stitch counts, and annotate a fictional example without replacing the original pattern’s definitions.
Learning method
Use a make-check-correct loop
- Preview one movement from a trusted demonstration and read the same instruction in the pattern.
- Work a small repeat slowly enough to see where the tool and yarn go.
- Stop, count, and compare the fabric with the last known-correct point.
- Name the difference before undoing work: extra loop, missed loop, split yarn, twisted setup, or misunderstood instruction.
- Correct or restart the small section, then repeat the same movement while the diagnosis is still fresh.
- Record the count or cue that helped so the next session starts with a usable reminder.
Work in sessions defined by a task, not a time promise. “Make four correctly counted rows” is observable; “master this in an hour” is not. Stop before fatigue makes your grip painful or your attention too low to recognize a mistake.
Evidence of progress
Look for control, not perfect fabric
Uneven tension is normal while your hands learn a new movement. Progress means that you can identify the working yarn, locate the next loop or insertion point, keep the intended stitch count, and explain what the next instruction asks you to do. It also means noticing an error sooner and knowing how far to undo.
Make a gauge swatch when finished dimensions matter. Wash and measure it before deciding that a tool change solved the numbers. The separate gauge-swatch guide covers that decision; your craft page covers how the movement fits into a first project.
Completion
Treat finishing as part of the lesson
Do not stop at the last ordinary row. Follow the pattern through binding or fastening off, securing ends, washing or blocking as the yarn label permits, shaping, drying, and checking the final dimensions. Save the label and a short note about the tool, yarn, size, and any change you made.
A completed imperfect piece teaches how every decision connects. Use it to choose one additional skill for the next project instead of changing yarn type, construction, stitch family, and difficulty all at once.
Pattern lookups and stitch calculations
Begin