Beginner knitting path
How to knit: a beginner’s garter-stitch sample
Your first goal is not speed or a perfect surface. It is control: place a stable row of loops on the needle, turn those loops into new stitches, keep the same count, recognize the fabric, and close the final edge without losing a stitch.
Tools and materials
Build a kit that lets you see every loop
Choose smooth, light- or medium-colored yarn in a medium weight. A fuzzy halo, very dark color, loose multi-strand construction, or large variation in thickness can hide the exact strand you need to enter. Save those yarns for a later project. Read the band and begin with a needle size in its suggested range; that recommendation is a starting point, not a promise about your individual fabric.
- One partial or full ball of smooth practice yarn
- A matched pair of straight needles, or one circular needle used flat
- Two removable stitch markers for marking the edge stitches
- A blunt tapestry needle and scissors for finishing
- A ruler or tape measure and a notebook
- A shallow tray or zipped bag so needles cannot roll away
If the label is unfamiliar, use the yarn-label guide before winding or cutting anything. The yarn-weight guide explains why the number describes a thickness family rather than the physical grams in the ball.
The stitch cycle
Think in old loops and new loops
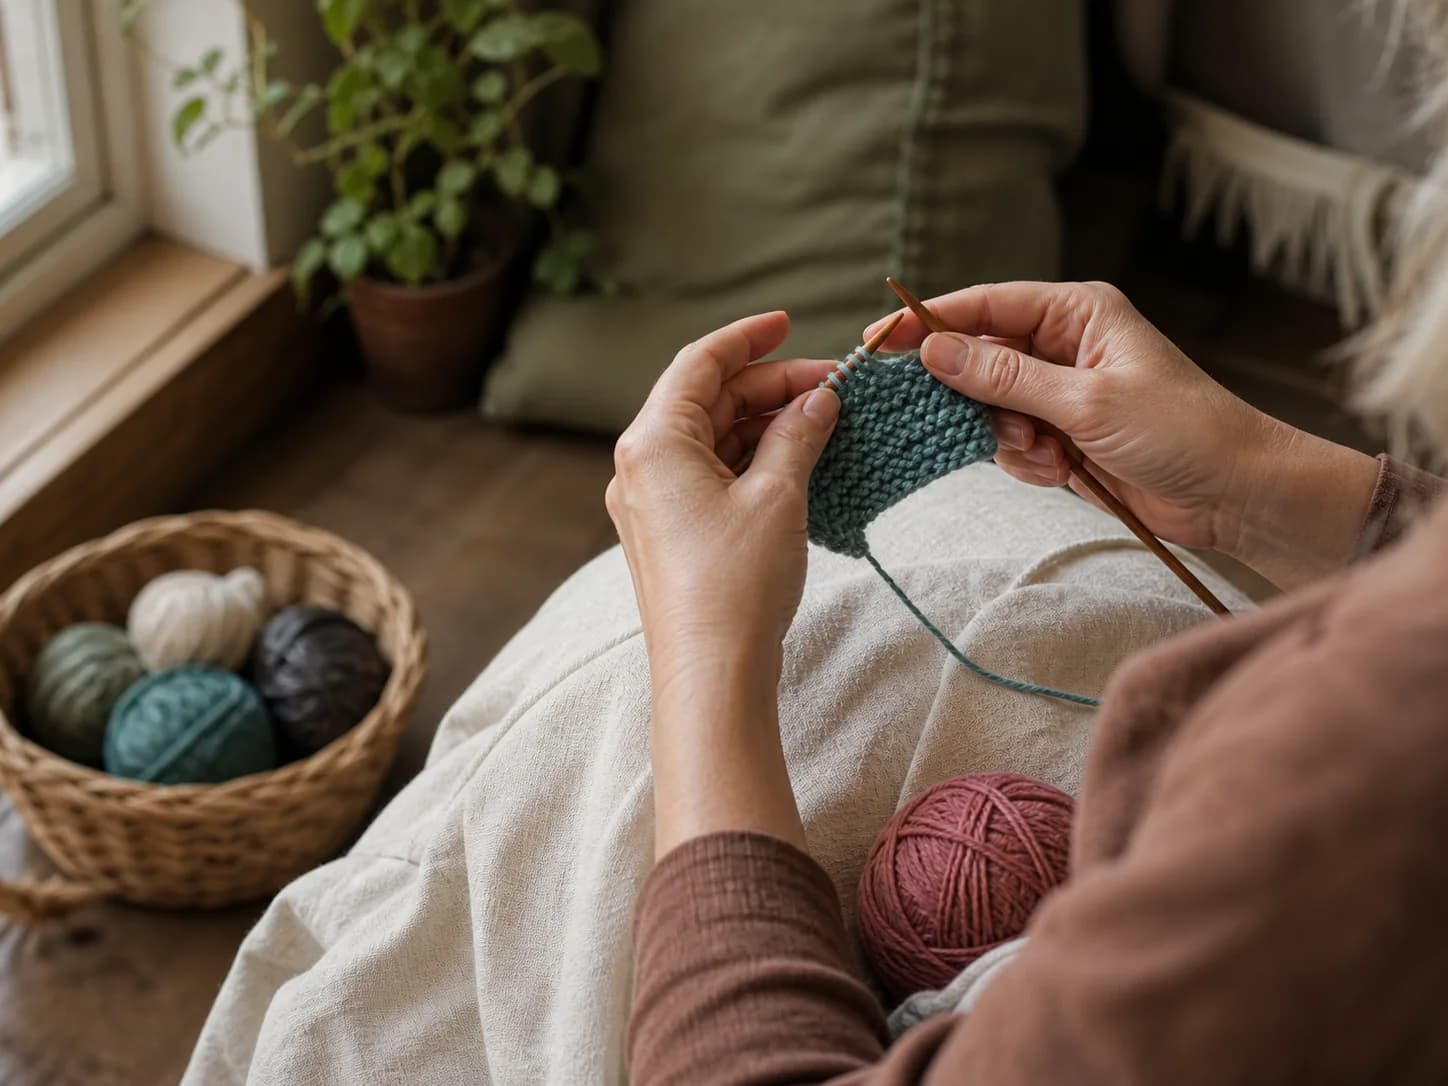
Knitting stores a whole row of live stitches on a needle. Each knit stitch replaces one old loop with one new loop. Stabilize the left needle without squeezing it. Insert the right needle through the next stitch in the direction shown by your trusted demonstration, wrap the working yarn, draw a new loop through, and only then let the old loop leave the left needle.
Pause after every few stitches and name what you see. The unworked loops remain on the left needle; completed new loops sit on the right; the working yarn leads from the last completed stitch to the ball. That simple inventory catches many errors before they travel across a row.
Follow one demonstrated cast-on from start to finish instead of combining hand positions from different methods.
Set a comfortable tension
Keep each loop large enough to slide along the needle shaft. Form the loop around the full shaft, not only the pointed tip, so its size can be repeated. The working yarn needs guidance, not a hard pull. If you must force the needle into a stitch, stop and loosen the stitch rather than pushing harder.
Practice sequence
Make one controlled sample from beginning to end
- Make a slip knot and use one cast-on method to place exactly 20 stitches on the needle. Count the loops on the needle according to that method's instructions; do not count the hanging tail.
- Lay the needle down briefly. Check that the cast-on edge is not twisted around the needle and that the working yarn, not the short tail, leads to the ball.
- Knit across the first row. Say each completed stitch number aloud or move a counter from 1 through 20. Stop with 20 new loops on the right needle.
- Turn the work by swapping the full needle back to your non-working hand. Place a removable marker near each edge so the first and last stitch remain easy to identify.
- Knit every stitch of every row. This creates garter-stitch fabric. Count at the end of every row and write the count only after checking it on the needle.
- Continue until you have completed 20 consecutive correctly counted rows. If you repair or restart a row, the successful sequence begins again with the next complete row.
- Bind off all 20 stitches with enough room for the edge to lie flat. Pull the cut yarn through the final loop, leaving a tail long enough to weave through several neighboring stitches.
- Weave in both tails, following the fabric rather than stretching it. Wash and dry the sample only as its yarn label permits, then measure it without pulling it wider or longer.
This is deliberate practice, not a race. Ten careful minutes that end at a known row are more useful than a long session that leaves you unable to locate the first mistake.
The 20-stitch and 20-row target keeps the first practice sample small enough to count and finish.
Fabric reading
Use the ridges as a record of your work
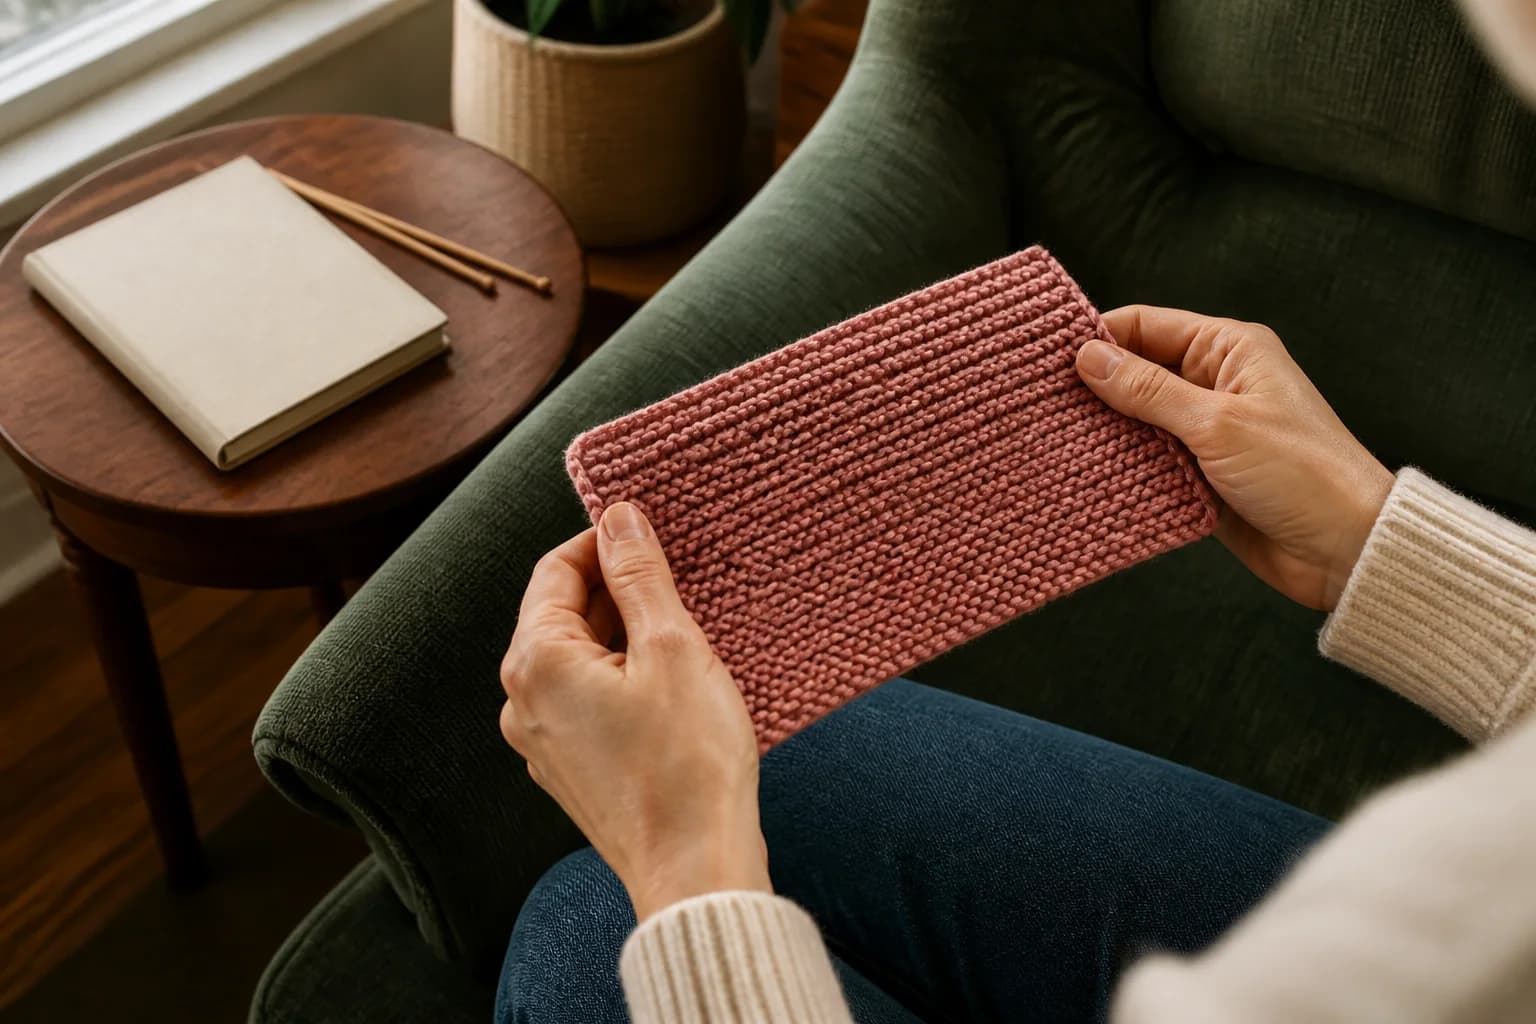
Garter stitch makes horizontal ridges on both faces. Stretch a small area gently from side to side and locate the individual loops on the needle, the bumps immediately below them, and the cast-on edge at the bottom. Compare the left and right boundaries. A stable edge repeats a recognizable rhythm rather than wandering inward or growing outward.
Thread a smooth contrasting scrap through one complete, correct row as a lifeline only after learning how to do so without splitting the live stitches. It gives you a visual reference, but it does not replace counting. Also photograph the sample with the needle and row count visible; the image helps you compare later work without relying on memory.
Troubleshooting
Find which part of the loop cycle changed
When the cause is unclear, stop at once. Mark the current row, place the work where no loop can slip off, and compare it with a known-correct sample or a qualified demonstration. Pulling needles out without a recovery plan can turn one local error into a full restart.
Yarns Unlimited practice milestone
Evaluate the finished practice sample
Use these checks to review the 20-stitch, 20-row sample and decide what you want to practise next:
- Twenty stitches remained on the needle for 20 consecutive rows.
- You can point to the cast-on edge, bind-off edge, and both sides.
- The bind-off lies flat and can stretch about as far as the fabric.
- No live or dropped loop remains, and both yarn tails are secure.
- The washed sample is dry and its width and length are recorded.
- You can complete five knit stitches slowly without verbal prompting.
Record the yarn name, needle size, 20-stitch width, 20-row length, and what you would change. For project gauge, follow the separate project process in the washed-gauge guide.
Safety and limits
Stop when the work or your hands need attention
- Store pointed needles and scissors away from children and animals.
- Never hold a needle in your mouth or leave one hidden in furniture.
- Use good light and change position instead of hunching closer.
- Stop the session if you develop pain, tingling, numbness, swelling, or weakness.
- Keep long strands, project cords, and finished neckwear away from babies, sleeping people, and anyone who cannot remove them safely.
Seek appropriate medical advice for persistent, worsening, or concerning symptoms. Do not treat changing needle size, grip, or technique as medical care.
Next project
Move from a sample to a complete beginner pattern
After the checkpoint, read a whole pattern before choosing yarn. Mark every technique you have not yet practised, confirm the finished dimensions and care, then make the pattern's own gauge swatch. The garter-stitch neckwarmer pattern extends the same flat fabric into buttonholes, custom length, blocking, and button attachment.