Beginner crochet path
How to crochet: a beginner’s first rectangle
Crochet becomes easier when you can identify exactly where the hook goes. This lesson uses one active loop, a foundation chain, and US single crochet to teach insertion points, turning, counting, straight edges, and a complete finish.
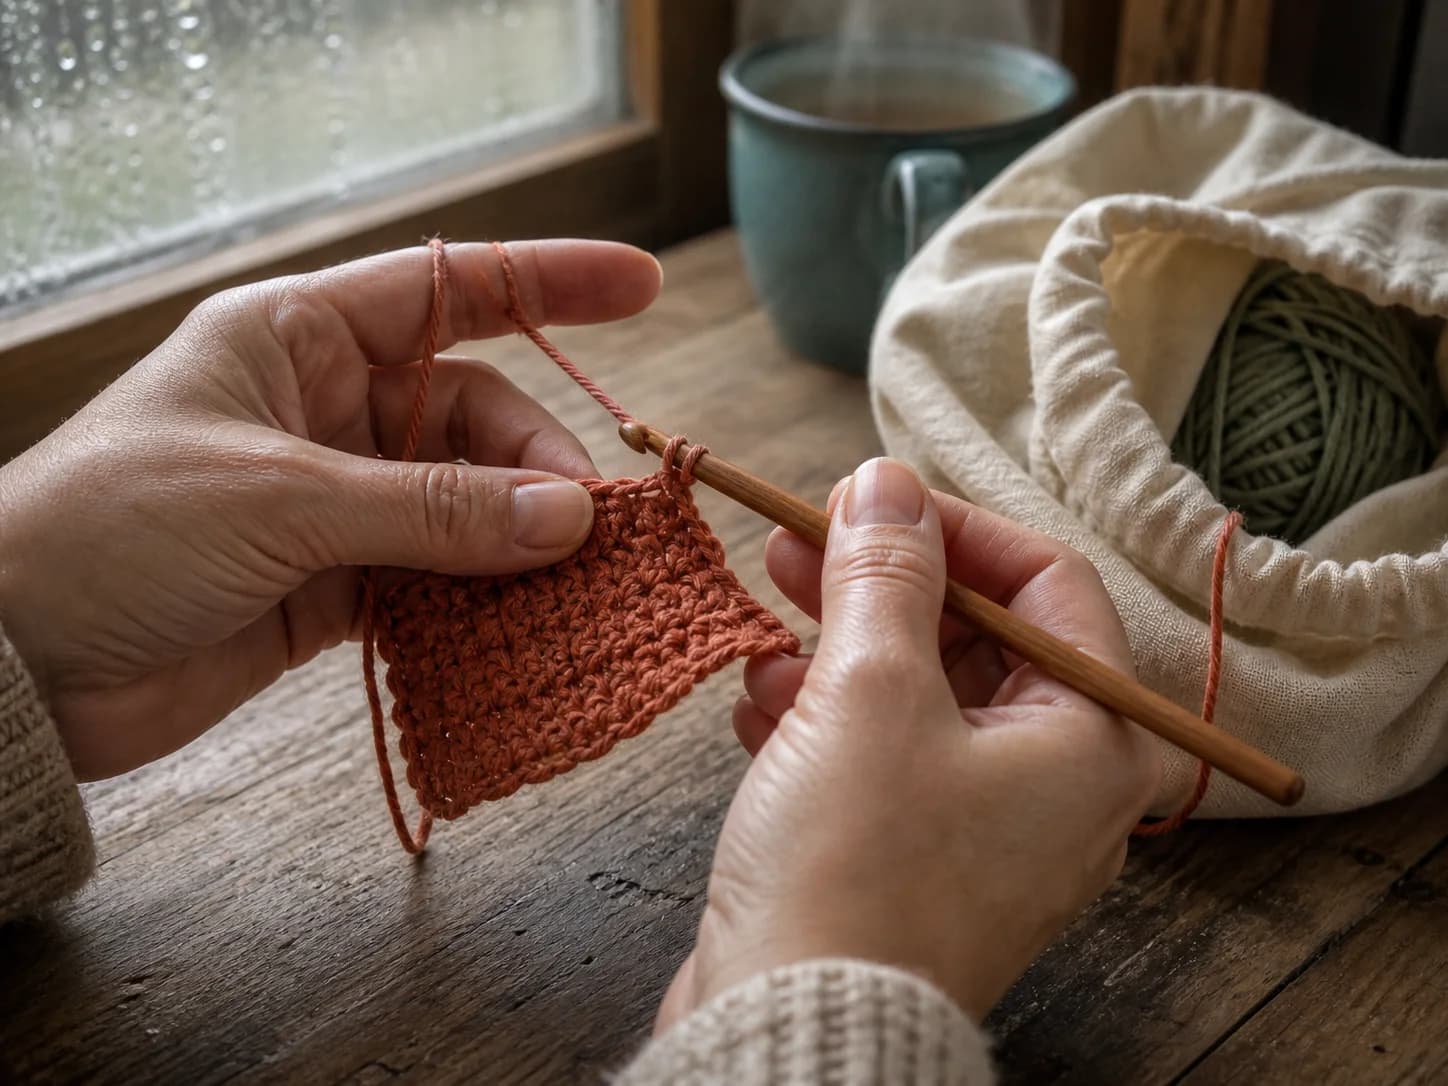
Explore crochet stitch instructions · Choose a crochet pattern
Practice goal
Learn one flat stitch before collecting techniques
The target is a small practice rectangle worked back and forth. You will make chains, work US single crochet, turn at the end of each row, count the stitches, fasten off, weave in the tails, and evaluate the washed fabric. The exercise deliberately excludes working in rounds, joining motifs, shaping, color changes, post stitches, and tall-stitch groups.
A practice rectangle is useful because every row exposes two decisions: where the first stitch belongs and where the final stitch belongs. If those two points remain consistent, the middle becomes easier to inspect. If the width changes, you know to examine an edge or a skipped insertion point before learning anything new.
First kit
Choose materials that reveal the top of each stitch
- Smooth, light-colored medium-weight yarn
- One crochet hook in a label-suggested starting size
- Two locking stitch markers in contrasting colors
- Scissors and a blunt tapestry needle
- A ruler or tape measure
- Paper and a pencil for row counts and observations
The hook should hold the working loop without snagging or forcing it. The label's hook range is only a place to begin; your hands, yarn, and intended fabric determine the useful size. Avoid novelty texture, a strong halo, very dark colors, and yarn that separates whenever the hook touches it. Those features make the stitch tops unnecessarily hard to distinguish during a first lesson.
Read every field with the yarn-label guide. If you are comparing two possible practice yarns, the fiber-behavior guide explains why matching a weight category does not make their fabrics identical.
Movement and anatomy
Separate the active loop from the stitch below it
The loop resting on the hook is the active loop. It is the working connection, not a completed stitch. Keep it large enough to move along the hook's shaft but small enough to remain controlled. The strand leading to the ball is the working yarn; the shorter loose end is the tail.
Chain movement
With a slip knot on the hook, guide the working yarn over the hook and draw that strand through the active loop. One new chain remains below and one active loop remains on the hook. Repeat without pulling each chain tight against the narrow throat. Turn the chain toward you and locate its front loops and back ridge so you understand which part a later instruction might name.
US single-crochet movement
- Insert the hook into the complete insertion point named by the exercise.
- Yarn over and draw a loop through the fabric: two loops are on the hook.
- Yarn over again and draw through both loops: one active loop remains.
- Find the new V-shaped stitch top directly below the active loop.
Say “insert, draw up, finish, find the V” while learning. That phrase connects the hand motion to the structure you need to count. It is more useful than moving quickly without knowing which stitch was created.
Keep a clear stitch demonstration visible so you can check the loop count and hook position without guessing from prose alone.
Practice sequence
Make a 20-stitch rectangle under one stated convention
Patterns differ on whether a turning chain counts as a stitch. For this exercise only, the chain-one turning chain does not count. Work the first single crochet into the first actual stitch and mark it. Apply a published pattern's own instruction when it states a different convention.
- Make a slip knot, leaving a tail long enough to weave in later. The slip knot and active loop do not count as chains.
- Chain 21 at an even, movable size. Stop and count each chain from the first completed chain to the one immediately below the hook.
- For row 1, insert into the second chain from the hook. Do not count the active loop as a chain. Work one US single crochet into each remaining chain for 20 stitches.
- Place one locking marker through the top of stitch 1 and a different-colored marker through stitch 20 as each is completed.
- Chain one and turn the work. Locate the first actual stitch below the marker, work into it, and move the marker into the new first stitch.
- Continue across the row under both top loops of each stitch. Work the marked final stitch, move its marker upward, and count exactly 20.
- Repeat the same turn, first-stitch, middle, last-stitch, and count process until 20 complete rows are visible.
- After the final stitch, cut the working yarn with a generous tail and draw that tail completely through the active loop to fasten off.
- Weave both tails through the solid fabric without bunching it. Follow the label when washing and drying, then let the rectangle settle before measuring it.
Use twenty stitches across 20 rows as a compact practice target for counting, turning, edge control, fastening off, and finishing.
Edge control
Use markers as evidence, not decoration
Before beginning each row, point to the first marked stitch, the line of unworked V shapes across the top, and the final marked stitch. After finishing the row, count the V shapes rather than the gaps between them.
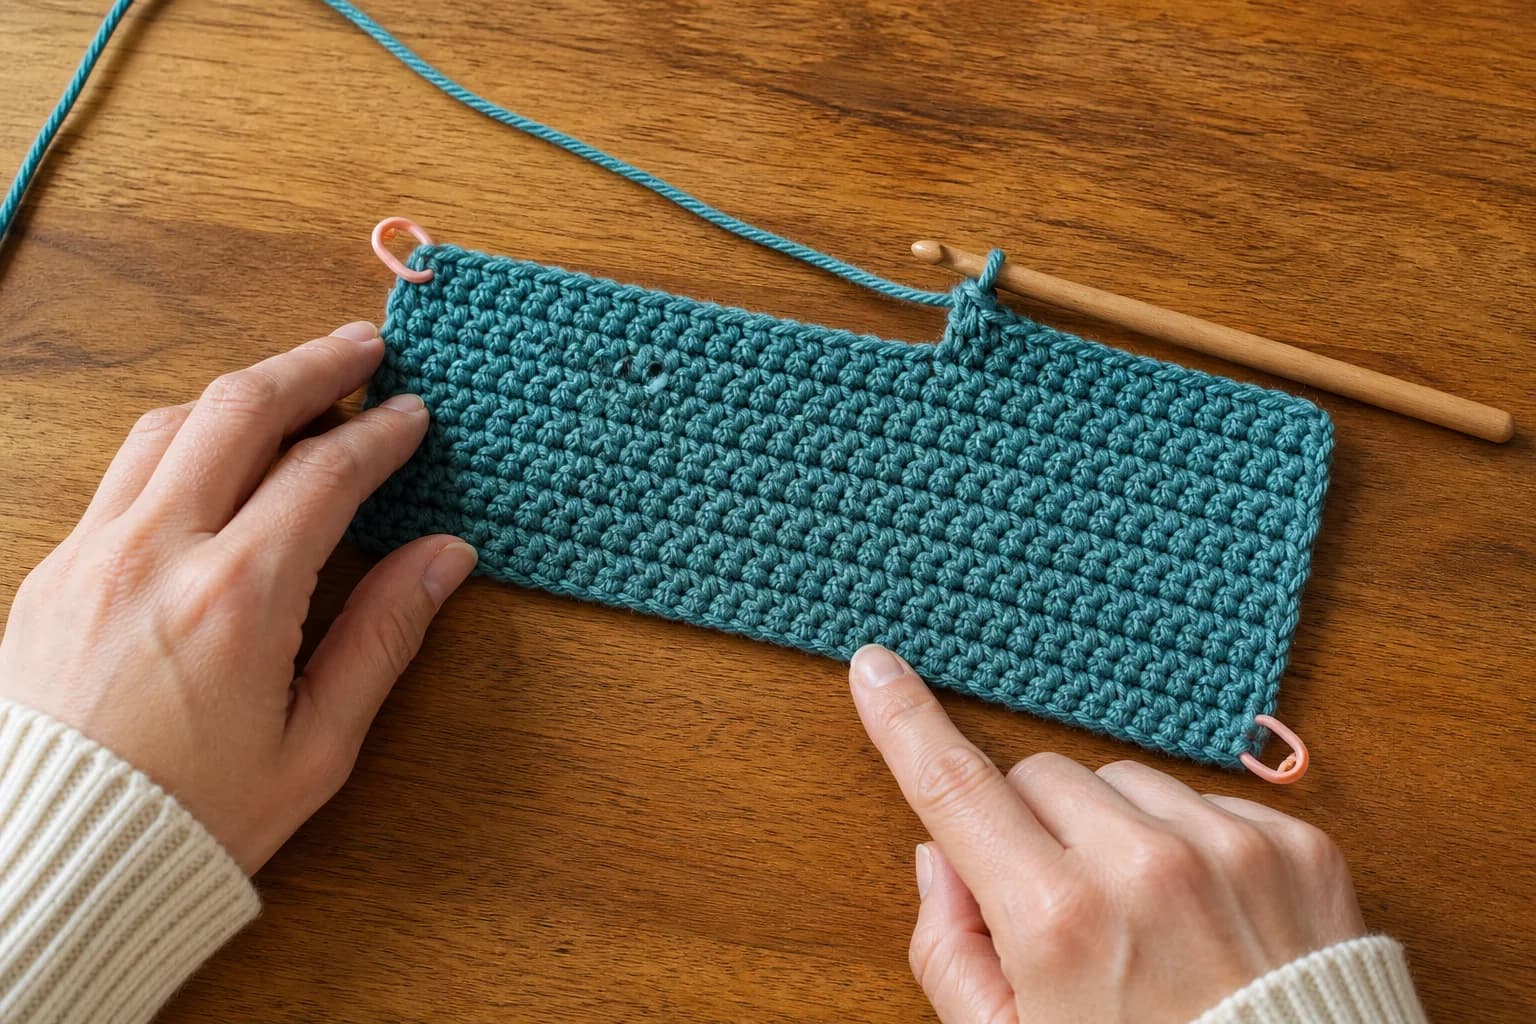
A marker identifies a stitch; it does not replace checking that the hook entered the correct part of that stitch.
Lay the work on a flat surface every four rows. Do not stretch it into a rectangle. Compare the current top edge with the foundation width and trace each side upward with a finger. An inward step usually means a stitch was skipped; an outward bump often means an edge, turning chain, or gap was treated as an extra stitch. Investigate immediately while the changed row is still close to the hook.
Mistake checks
Ask a structural question before pulling yarn
If you cannot locate the error, put a locking marker through the active loop before setting down the hook. That prevents the work from unraveling while you compare the last correct row with a trusted movement reference.
Yarns Unlimited practice milestone
Evaluate the finished practice rectangle
Use these checks to review the 20-stitch, 20-row rectangle and decide what you want to practise next:
- Each of 20 completed rows contains exactly 20 single crochets.
- Both side edges remain visibly continuous without added steps.
- You can identify a stitch top, a space, an edge stitch, and the active loop.
- The last loop is fastened, both tails are woven in, and nothing unravels under a gentle check.
- The fabric was washed and dried according to the label.
- The final width and length, hook size, yarn, and one improvement are written down.
The measurements do not need to form a perfect square. They establish a personal baseline. A sized project will set a separate gauge target, which you should test with the actual yarn, hook, stitch pattern, and care method described in the gauge guide.
Safe use
Treat the rectangle as practice material
Use this sample only for stitch practice. For a toy, baby item, potholder, medical aid, load-bearing object, or protective material, follow a purpose-written pattern and material specification. Yarn can melt, burn, shed, stretch, tighten, or release small fibers depending on its composition and use. Do not assign the sample a safety function it was never designed to perform.
- Close or cover the hook and scissors before transporting the kit.
- Keep loose yarn, loops, and tools away from young children and pets.
- Work in clear light and take breaks before accuracy deteriorates.
- Stop if crocheting brings pain, numbness, tingling, swelling, or weakness.
- Seek suitable medical advice for symptoms that persist, worsen, or concern you.
Continue learning
Choose a complete flat-project pattern next
Look for a crochet pattern that explicitly states its US or UK terms, finished dimensions, yarn quantity, gauge, turning-chain convention, row instructions, and finishing method. Read it from materials through finishing before buying yarn, then practise any unfamiliar movement on scrap yarn.
- Return to the knitting-and-crochet learning map
- Evaluate a yarn substitution
- Learn to read a crochet pattern
- See the current pattern library (the published project is knitting, not crochet)