Knitting pattern literacy
How to read a knitting pattern before you cast on
Treat a knitting pattern as a set of connected specifications. The measurements define the result, the gauge connects those measurements to your fabric, and the row or round instructions tell you how the live stitch count changes. Read those parts together before following the first abbreviation.
Document anatomy
Find every part before reading the instructions
A complete pattern is more than its numbered rows. Scan the entire document and locate the following sections. Their order varies by publisher, and some information may sit beside a photograph or schematic rather than under a heading.
If one of those parts is absent, do not silently invent it. Search the lawful source for an errata page or corrected edition. If the missing information changes safety, fit, yarn quantity, or construction, choose another pattern until the ambiguity is resolved.
Before yarn and needles
Read in decision order, not page order
- Read the title, description, skill expectations, and construction note. Sketch the pieces and the direction each one grows.
- Choose a size from body and finished measurements, then highlight only that size throughout the document.
- Check yarn quantity, fiber and care requirements, needle types, notions, gauge, and the designer's stated measuring condition.
- Circle unfamiliar abbreviations and locate their definitions in the pattern. Practise any new increase, decrease, cable, or short-row method on scrap yarn.
- Trace the instructions from cast-on through finishing. Mark every place where two actions happen at the same time or where a repeat stops at a measurement rather than a fixed row number.
- Check the stitch arithmetic at each shaping milestone. A printed count should agree with the increases and decreases that precede it.
This pass is not wasted knitting time. It is when you discover that a circular yoke needs a longer cable, a neckline begins before the armhole shaping ends, or a chart introduces a technique not listed in the short description.
Knitting notation
Translate each abbreviation into an action and a count
Capitalization is often insignificant, but the exact operation is not. Individual designers may define additional terms. Copy the project's own key beside your working notes instead of assuming that a familiar-looking abbreviation has the familiar method.
| Notation | Usual reading | Count question |
|---|---|---|
| CO / BO | Cast on / bind off | How many live stitches exist afterward? |
| k / p | Knit / purl | Normally one stitch consumed and one produced. |
| st / sts | Stitch / stitches | Is the printed number a checkpoint or an instruction? |
| RS / WS | Right side / wrong side | Which face is toward you for this row? |
| k2tog / ssk | Two different single decreases | Each normally consumes two stitches and produces one. |
| yo | Yarn over | It normally creates one stitch and an intentional opening. |
| pm / sm | Place marker / slip marker | A marker is not normally a stitch. |
| rep | Repeat | What exact span repeats, and how many times? |
Words can compress decisions too. “Work even” usually means continue without increasing or decreasing, not “make every stitch a knit stitch.” “Work in pattern as established” means preserve the visible stitch sequence while shaping changes the edges. “At the same time” means two schedules overlap; write both schedules on a row checklist before starting that section.
The terms “bind off” and “cast off” can describe the same finishing action in different publishing traditions. That vocabulary difference does not justify changing the method specified by the designer.
Size selection
Follow one number through every nested list
A garment pattern may show sizes as S (M, L, XL) and later show numbers as 36 (40, 44, 48). If you choose L, you consistently take the third value: 44 in this example. Do not switch positions because a later number resembles your body measurement. Highlight the size order at the top of every page, then rewrite crowded instructions using only your selected values without altering the original.
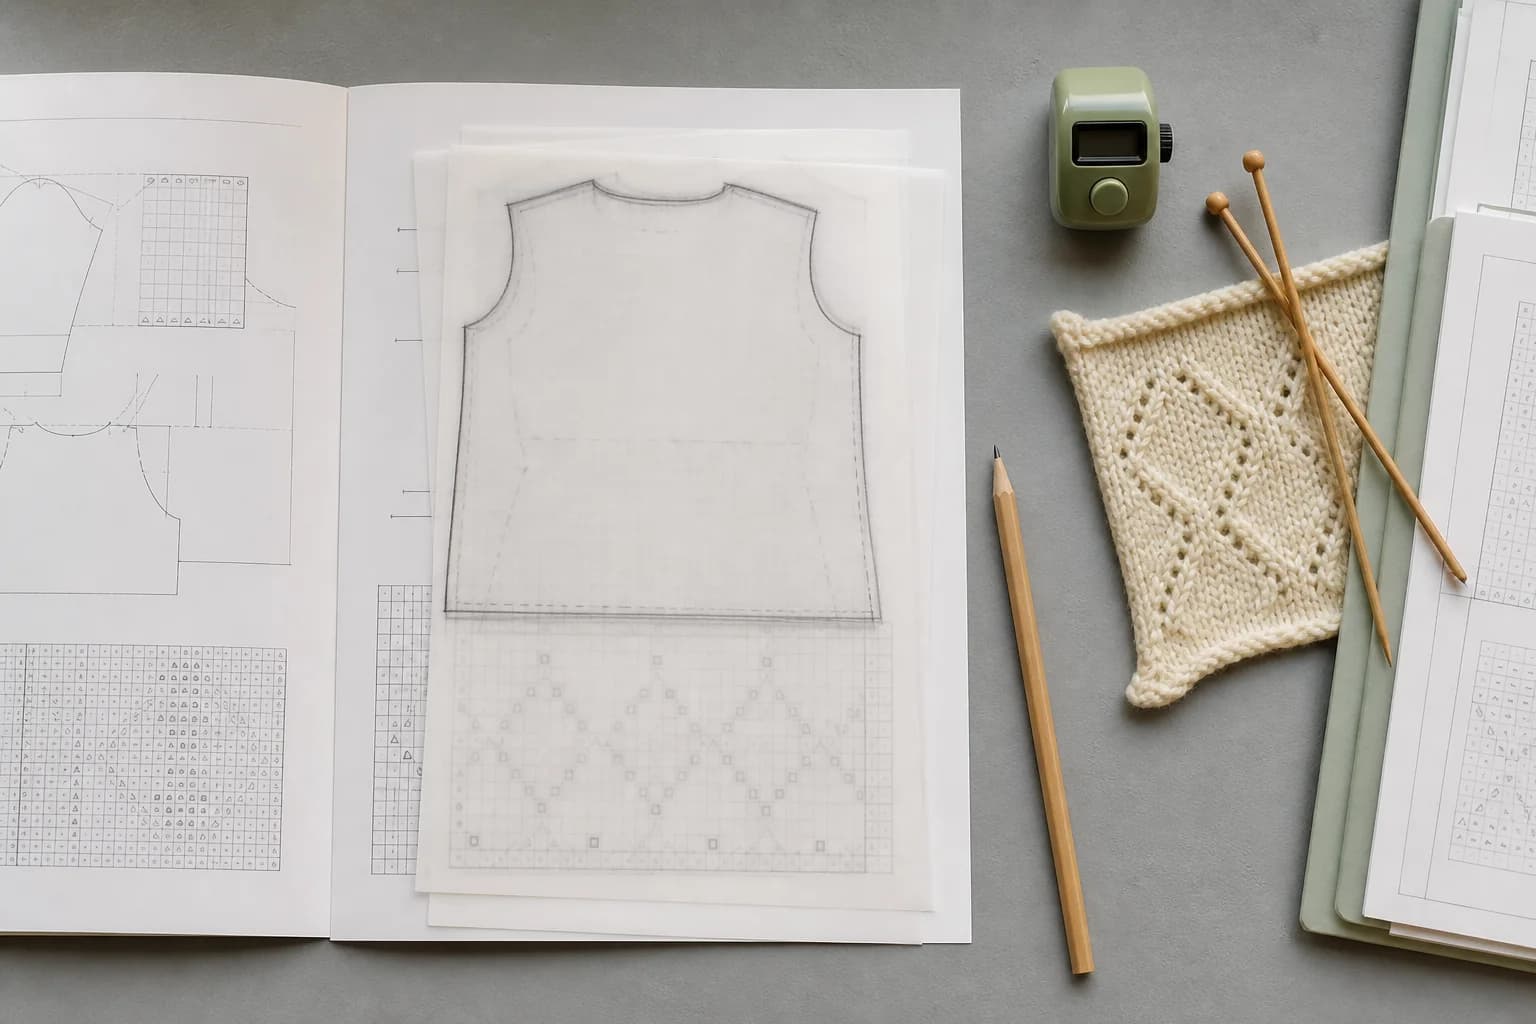
Separate body measurements from finished measurements. The difference is ease: positive ease gives space beyond the body, zero ease is close to the body measurement, and negative ease makes a smaller finished circumference that relies on stretch. Use the pattern's intended fit, construction, and fabric behavior rather than choosing solely from a letter label.
Compare more than bust or chest circumference when the schematic provides more. Sleeve length, upper-arm width, shoulder span, armhole depth, garment length, and neckline depth can point toward a different adjustment. Confirm whether a schematic measures one flat piece or the complete circumference before doubling any figure.
Fabric specification
Read the whole gauge statement as one condition
“18 stitches and 24 rows = 4 in / 10 cm in stockinette after blocking” names two rates, a measurement span, a stitch pattern, and a finished state. It does not mean that any 18 stitches on the suggested needle are acceptable. Swatch with the project yarn, the named stitch, and the same flat or circular method the project uses; wash and dry the sample as the finished piece will be treated.
At 18 stitches per 4 inches, the rate is 4.5 stitches per inch. If an unchanged section contains 90 stitches, the arithmetic predicts 20 inches before considering edge behavior or pattern-specific shaping. At 20 stitches per 4 inches, those same 90 stitches predict 18 inches. That two-inch difference explains why substituting the stated needle without matching gauge can change fit.
Adjust the tool and make a new sample when the count misses. Also judge the fabric: a numerical match that is too stiff, loose, transparent, or unstable is not a useful match. Follow the complete process in the gauge-swatch guide.
Direction and orientation
Know whether you turn the work
Flat knitting proceeds in rows. After one row, the work turns and the opposite face is normally toward you. A pattern may label the first public-facing row RS and the return row WS. That orientation affects stitch instructions, shaping placement, chart reading, and phrases such as “end after a WS row.” Put a removable marker on the right side if the fabric itself is difficult to distinguish.
Circular knitting proceeds in rounds around a tube and normally does not turn unless the pattern explicitly says to do so. Mark the beginning of the round and distinguish that marker from section or shaping markers. An instruction to knit every round produces a different surface from knitting every row back and forth.
A numbered row is an instruction pass, not necessarily a visible ridge. Likewise, a “pattern row” can mean one line of a stitch repeat, while “work 12 rows” counts every completed pass. When instructions alternate “Row 1” and “Row 2” until a length, preserve their order and record which one you completed last.
Repeat grammar
Mark the boundary before doing the multiplication
An asterisk often begins a repeated sequence: “*k2, p2; rep from *” means return to the asterisk, not to the beginning of the row. Brackets or parentheses may group several actions to repeat a stated number of times. Punctuation may separate setup stitches, the repeat, and edge stitches, but conventions vary, so use the pattern's own notes when they define the symbols differently.
Before working a dense line, draw three boxes: stitches before the repeat, one repeat unit, and stitches after it. Compute the input and output of each box. For “k1, [yo, k2tog] 4 times, k1,” the two edge stitches plus four two-stitch repeat units consume 10 existing stitches. Each yarn over balances each decrease, so the row still produces 10 stitches.
“Repeat Rows 3–6 twice more” means those four rows were already worked once and must now be worked two additional times: three cycles and 12 rows total. “Repeat twice” may be used less carefully by some publishers, so confirm the resulting row count, measurement, chart, and next instruction instead of relying on the phrase alone.
Chart reading
Read the key before assigning meaning to a square
A knitting chart is a map of the fabric, not a universal alphabet. Find the key, starting point, row numbers, repeat outline, and any “no stitch” cells. Determine whether the chart shows every row or only selected rows and whether it represents flat or circular work. Many knitting charts present symbols as the stitches appear from the right side, which means one symbol can require a different action on a wrong-side row.
Do not infer chart direction from another project. Follow the designer's arrows or notes and use common symbol references only when they agree with the supplied key. Place paper or a ruler above the current chart row so completed information remains visible below it, and write the live stitch count beside any chart row containing increases or decreases.
Worked reading exercise
Decode a fictional shaped rib panel
Short fictional excerpt for practising pattern reading.
Sizes: S (M, L)
Gauge: 20 sts and 28 rows = 4 in / 10 cm in blocked stockinette.
Abbreviations: k, p, RS, WS, ssk, k2tog, rep, sts.
Instructions: CO 32 (36, 40) sts.
Row 1 (RS): *K2, p2; rep from * to end.
Row 2 (WS): *K2, p2; rep from * to end.
Rep Rows 1 and 2 twice more.
Shape Row (RS): K2, ssk, work in rib as established to last 4 sts, k2tog, k2—30 (34, 38) sts.
Next Row (WS): Work in rib as established.
Rep the last 2 rows twice more—26 (30, 34) sts.
Continue even until piece measures 6 (7, 8) in, ending after a WS row. BO in pattern.
Choose and isolate the medium size
In this example, medium is the second value: cast on 36 stitches, expect 34 after the first shaping row, expect 30 after all three shaping rows, and work to 7 inches. Rewriting those selected figures on a separate checklist prevents your eye from drifting into the small or large column.
Check the repeats and counts
Thirty-six is divisible by the four-stitch k2, p2 repeat, so Row 1 ends at the row boundary without leftover stitches. Rows 1 and 2 are worked once, then repeated twice more, producing six rib rows. Each shaping row contains two single decreases: ssk removes one stitch and k2tog removes one, so 36 becomes 34. Repeating the shaping pair twice more works three shaping rows in total and removes six stitches, leaving the printed 30.
Track orientation and stopping condition
The shaping happens only on right-side rows. The intervening wrong-side rows preserve the established rib without further decreases. “Continue even” means stop shaping but maintain the rib. The final section ends by measurement, not by a promised row number, and the last completed row must be a wrong-side row before binding off in the existing knit-and-purl sequence.
Keep gauge in its proper role
The excerpt supplies stockinette gauge while the panel uses rib, an intentional warning sign in this reading exercise. A real pattern should make clear which gauge controls fit and how the rib is measured. You would resolve that question from designer notes or errata before buying yarn; you would not assume the stockinette rate predicts the relaxed width of ribbing.
During the project
Turn the pattern into a checkable run sheet
Keep the original pattern intact and make a personal working copy or lawful notes. At each milestone, record the completed row or round, right- or wrong-side orientation, live stitch count, measurement, active size, and any approved adjustment. Tick a row only after it is complete and counted.
- Use one line per shaping event, not one vague note for a whole section.
- Write simultaneous schedules in adjacent columns.
- Move a chart marker only after checking the completed row.
- Keep yarn labels and swatch records with the pattern.
- Mark intentional modifications so they can be mirrored on a second piece.
- Check the lawful source for errata before assuming your count is wrong.
When a line stops making sense, pause with the stitches secure. State the last confirmed count and orientation, then reread the smallest relevant unit: the current instruction, its repeat boundary, the size column, and the preceding checkpoint. That method finds more errors than restarting the whole page from memory.
Continue with the learning hub, review how yarn choices affect the result in the yarn decision guide, or inspect the site's current complete knitting pattern with this preflight sequence.
Look up knitting abbreviations and repeat arithmetic or calculate a plain-row stitch change.