Measure before the project
Knitting and crochet gauge calculator
Compare washed stitch and row counts with the pattern. See the finished-size difference before starting the full project.
Compare pattern and swatch
Count within the relaxed, washed fabric. Pattern stitches and rows use the same stated span; your measured width and height may differ. The measured area passes to the yarn estimate, where its dry mass must describe that same area.
Example result for the measurements below.
Plan 110 stitches × 180 rows
- Unchanged pattern counts would make
- 45.45 × 56 cm
- Raw stitches for target width
- 110
- Centre repeat blocks
- 110
- Cast-on stitches including edges
- 110
- Rows at measured row gauge
- 180
- Planned size at your gauge
- 50 × 60 cm
Stitch and row counts fit the stated centre repeat and total edge stitches. Check any shaping or separate border against the pattern, and confirm the planned size with a washed swatch.
Continue with this planned size and measured swatch to the yarn estimate
Dimensions
Gauge turns stitch counts into finished size
Stitch gauge is the number of stitches across a stated width. Row or round gauge is the number worked through a stated height. A pattern combines those rates with stitch and row counts to produce its measurements. If your rate differs, the same instructions produce a different size.
Gauge also describes fabric. The same yarn worked tightly may be firm and dense; worked loosely, it may be open and fluid. Matching the number with an unsuitable fabric is not a successful substitution. The sample must satisfy size, feel, drape, opacity, and the demands of the object.
A scarf with flexible length may tolerate variation. A sweater, hat, sock, fitted sleeve, shaped neckline, repeated motif, or item made from a limited yarn supply gives you less room. Treat the pattern's gauge statement as a project specification rather than a suggestion printed beside the recommended tool.
Before starting
Copy the complete gauge statement
Record the target exactly, including the stitch pattern, measurement area, tool, construction method, and whether the designer measured before or after blocking. “18 stitches and 24 rows = 4 in / 10 cm in stockinette after blocking” is a different test from an unblocked cable, crochet motif, or circular colorwork gauge.
- Use the actual project yarn, including every strand held together.
- Begin with the pattern's suggested metric tool size.
- Use the stitch or motif named in the gauge statement.
- Use the same knitting or crochet method you expect in the project.
- Have a rigid ruler or gauge measure, labels, and a washable note method.
Metric tool size is useful when number or letter systems differ. Material and shape can also affect how you work, so record whether the tool is metal, wood, straight, circular, inline, tapered, or another form. If you change the tool later, treat it as a new test.
Representative sample
Make more fabric than you plan to measure
A gauge statement over 4 in / 10 cm does not mean the entire swatch should be only that size. Cast on or chain enough for the target area plus an undistorted margin on both sides, then work beyond the target height. Measure in the center, away from the cast-on, foundation, side, and bind-off edges.
- Estimate a starting stitch count from the pattern gauge and add enough stitches for margins and any stitch-pattern repeat.
- Work a few rows in a stable edge treatment if needed, while keeping a large central area in the exact gauge stitch.
- Continue until the center is taller than the measurement area and your movements feel representative rather than tentative.
- Bind off without forcing the edge to a chosen width. Label the tool size immediately.
Flat project or project in the round?
Swatch flat for fabric worked back and forth. For a circular project, use a circular swatch method when practical because the same person can form stitches differently without wrong-side rows. A small tube must still be large enough to measure away from the beginning of the round and any tension change at the join.
If the project contains several important fabrics, swatch each one the pattern identifies. Ribbing, cables, stranded colorwork, lace, and textured crochet can contract or spread differently from a plain stockinette or single-crochet sample.
Finish the test
Wash and dry the swatch before deciding
First measure and record the unwashed sample. Then follow the yarn label and any compatible pattern instructions using the same process planned for the finished item. Let it dry completely and rest before taking the final measurements.
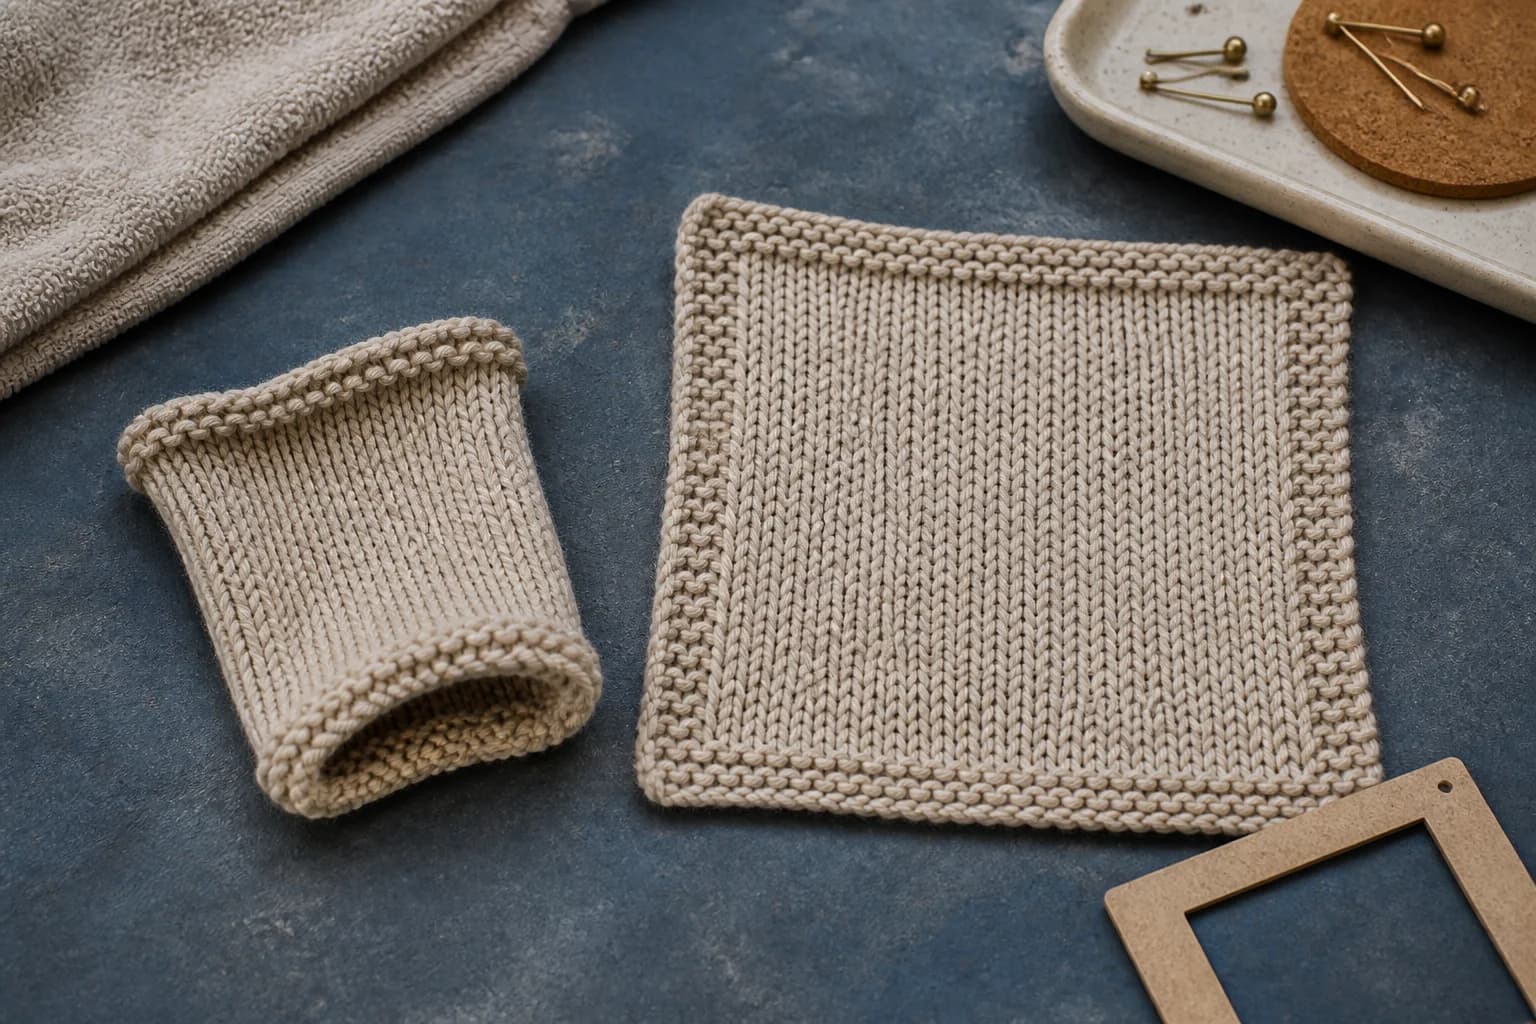
Do not pull or pin ordinary fabric to the target dimensions merely to make the count pass. Shape it as the finished object should be shaped. Lace or another design may intentionally specify opening the fabric during blocking; in that case, reproduce the designer's stated method and measure the released, dry result.
Washing can change dimensions, surface, drape, and color behavior. That is why an unwashed match is provisional. Keep both sets of measurements: they help you recognize whether an in-progress project is likely to settle toward the approved washed gauge.
Count the center
Measure stitches and rows without rounding
- Lay the dry swatch flat on a firm surface without stretching it.
- Place the ruler across a representative central section.
- Mark the beginning and end of the pattern's stated distance.
- Count complete and partial stitches between the marks.
- Turn the ruler vertically and count complete and partial rows.
- Repeat in another central area; investigate if the counts disagree.
Partial stitches matter. Rounding 17.5 stitches to 18 before comparing can hide a meaningful error across a garment. If the pattern states a 4 in / 10 cm gauge, count that full distance when the sample permits; a longer span reduces the effect of a small counting or placement error.
Make the difference visible
Use simple gauge math before dismissing a mismatch
Convert the gauge to stitches per unit, then divide the project stitch count by that rate.
Suppose the pattern expects 18 stitches over 4 in and a section uses 90 stitches. The pattern rate is 4.5 stitches per inch, so the intended width is 20 in. If your washed swatch has 20 stitches over 4 in, your rate is 5 stitches per inch and the same 90 stitches produce only 18 in. A difference that looks small inside the swatch removes 2 in from that section.
Calculate the effect of washing
Compare a dimension before and after washing with this formula:
percentage change = ((washed measurement − unwashed measurement) ÷ unwashed measurement) × 100
A negative result means the measured dimension became smaller; a positive result means it became larger. Calculate width and height separately because they need not change by the same percentage.
Diagnose one variable at a time
What to change when gauge does not match
| Washed result | What it means | Usual next test |
|---|---|---|
| Too many stitches in the target width | Your stitches are smaller than the pattern's stitches. | Try the next larger metric needle or hook and swatch again. |
| Too few stitches in the target width | Your stitches are larger than the pattern's stitches. | Try the next smaller metric needle or hook and swatch again. |
| Stitch gauge matches; row gauge does not | Width may work, but row-based height and shaping can differ. | Check the pattern: measure length where allowed; recalculate only with sufficient skill. |
| Numbers match; fabric is wrong | The yarn-tool combination fails the project's material needs. | Try a more suitable yarn rather than approving the numbers alone. |
Change one variable, label the new sample, wash it, and measure again. Do not assume that moving one tool size changes gauge by a fixed amount. If several tool sizes still produce an unsuitable fabric, the yarn may not be a responsible substitute for that pattern.
Numbers plus material
Approve the fabric, not just the ruler result
Handle the washed swatch in a way that represents the object. Hold a garment sample against the intended layer, stretch a cuff sample and watch its recovery, place a bag sample under load, or view lace against the background where it will be worn. Look at both sides and inspect joins, carried colors, and texture.
- Is the fabric comfortable and appropriate for the recipient?
- Does it have the required structure, drape, and opacity?
- Do stitches and motifs remain clear after washing?
- Does it return after ordinary stretching?
- Is the care method realistic for the finished object?
- Would the full-size fabric be too heavy, warm, open, or rigid?
Keep the approved swatch until the project is finished. It is a reference for checking working gauge, comparing color, repairing the item, and identifying leftover yarn.
When the result is confusing
Common gauge-swatch problems
Record
Keep the swatch reproducible
- Pattern name, project size, and date
- Yarn brand, name, color, dye lot, and fiber content
- Needle or hook type and metric size
- Flat or circular method and exact stitch pattern
- Unwashed stitch and row gauge
- Wash, blocking, and drying method
- Washed stitch and row gauge
- Notes on feel, drape, opacity, recovery, and surface
Photograph the label and record rather than trusting memory. The note should let you reproduce the approved fabric months later without guessing which hook, needle, wash, or measurement you used.
Continue